Style sheets are very useful in software development as they define both the style and the general look and feel of your software application. You’re Not a Senior Developer Until You Have These 8 Traits.
Sometimes these style sheets could internal or external. One advantage of using external stylesheet in React Native is that it avoids unnecessary re-styling: one block of style can serve multiple pages.
This is usually done in HTML and CSS, and now let’s see how we can replicate that behaviour in our React Native application.
1. First Create your Style.js file (Or whatever name you prefer to use)
This is the first step in creating our external style sheet in React Native. We must create the file where our styles will be defined. Sometimes these files could be inside a folder like assets or maybe styles, but that arrangement is subjective and not compulsory, Nevertheless, it makes your project look tidy.
Learn software development training in abuja
2. Next, Define the Styles
We will then proceed to add the styles in our created Style.js file as follows:
import { StyleSheet } from 'react-native';

const styles = StyleSheet.create({

box: {
    width: '80%',
    height: 150,
    backgroundColor: 'red',
    alignSelf: 'center',
    borderRadius: 9
  }

});

export { styles }
Notice here that we are importing ‘React’ or anything of such as it is not necessary.
Also notice that we are exporting style constant, which is what makes the style to be globally accessible by all screens in our application.
3. Add External Style Sheet to Our React Native App
So we’ll add external style sheet to our screen
Let’s call our screen Home.js
import React, { Component } from "react";
import { View } from 'react-native';
import { styles } from "./Style";

class Home extends Component {
    render(){
        return(
            <View>
                <View style={styles.box}>

                </View>
            </View>
        )
    }
}

export default Home;
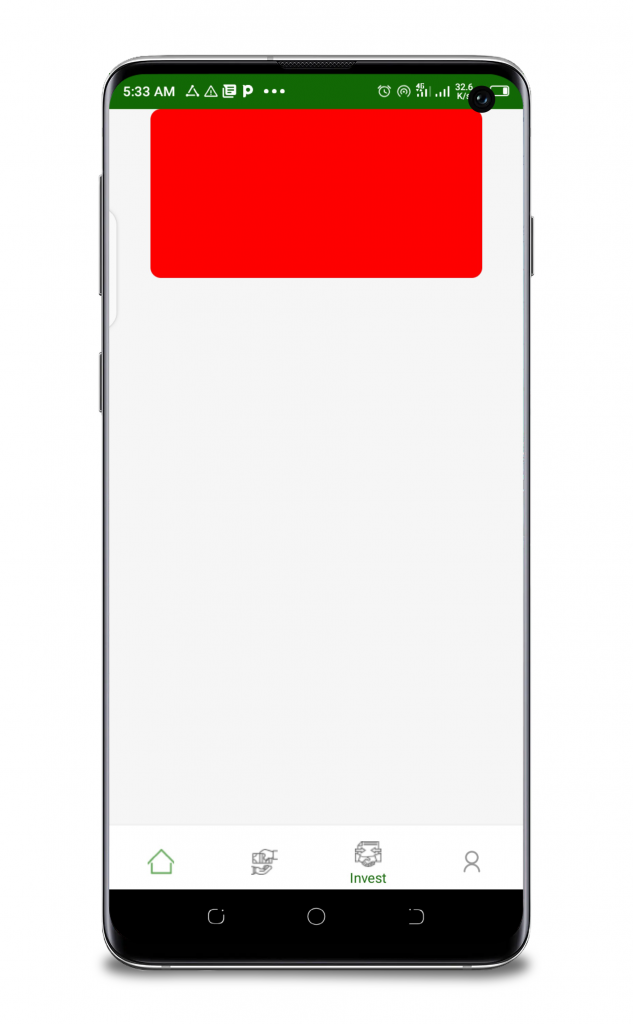
4. Finally, We Run the App

This is how we create and use external style sheet in React Native.
See also:
How to create onboarding screen in React Native

Latest tech news and coding tips.


‘Preciate it
Glad to help