
React Router, a widely adopted library in the React ecosystem, offers a powerful solution to tackle navigation challenges in modern web development. In this article, we’ll delve into the ins and outs of React Router navigation, exploring its core concepts, usage, and advanced features.
Why React Router?
In the world of single-page applications (SPAs), smooth and efficient navigation is a crucial aspect of providing a seamless user experience.
React Router is a JavaScript library designed to handle client-side routing in SPAs. Unlike traditional multi-page applications that involve full page reloads upon navigation, SPAs dynamically update specific components based on the URL without causing the entire page to refresh. React Router facilitates this behavior by providing a set of components and tools for managing navigation within your React applications.
Getting Started
To start using React Router for navigation, you first need to install it into your project. Open your terminal and run the following command:
npm install react-router-dom
// or
yarn add react-router-dom
Next, we want to have a simple navigation bar with some Bootstrap Support. We will create a file called Nav.js and add the following code:
import React, { Component } from 'react';
import { Link } from 'react-router-dom';

class Nav extends Component {
  render(){
    return(
  <nav class="navbar navbar-expand-lg bg-body-tertiary">
  <div class="container-fluid">
    <a class="navbar-brand" href="#">Navbar</a>
    <button class="navbar-toggler" type="button" data-bs-toggle="collapse" data-bs-target="#navbarSupportedContent" aria-controls="navbarSupportedContent" aria-expanded="false" aria-label="Toggle navigation">
      <span class="navbar-toggler-icon"></span>
    </button>
    <div class="collapse navbar-collapse" id="navbarSupportedContent">
      <ul class="navbar-nav me-auto mb-2 mb-lg-0">
        <li class="nav-item">
          <a class="nav-link active" aria-current="page" href="#">Home</a>
        </li>
        <li class="nav-item">
          <a class="nav-link" href="#">About</a>
        </li>
        <li class="nav-item">
          <a class="nav-link" href="#">Contact</a>
        </li>
      </ul>
      <form class="d-flex" role="search">
        <input class="form-control me-2" type="search" placeholder="Search" aria-label="Search" />
        <button class="btn btn-outline-success" type="submit">Search</button>
      </form>
    </div>
  </div>
      </nav>
    )
  }
}

export default Nav;
Notice that this code still uses the `a href` from the Bootstrap – HTML logic. We don’t need that here, and we will modify it in a bit.
Next, will create a file called Home.js and call our Nav file there:
import React, { Component } from 'react';
import Nav from './Nav'

class Home extends Component {
  render(){
    return(
      <Nav />
    )
  }
}

export default Home
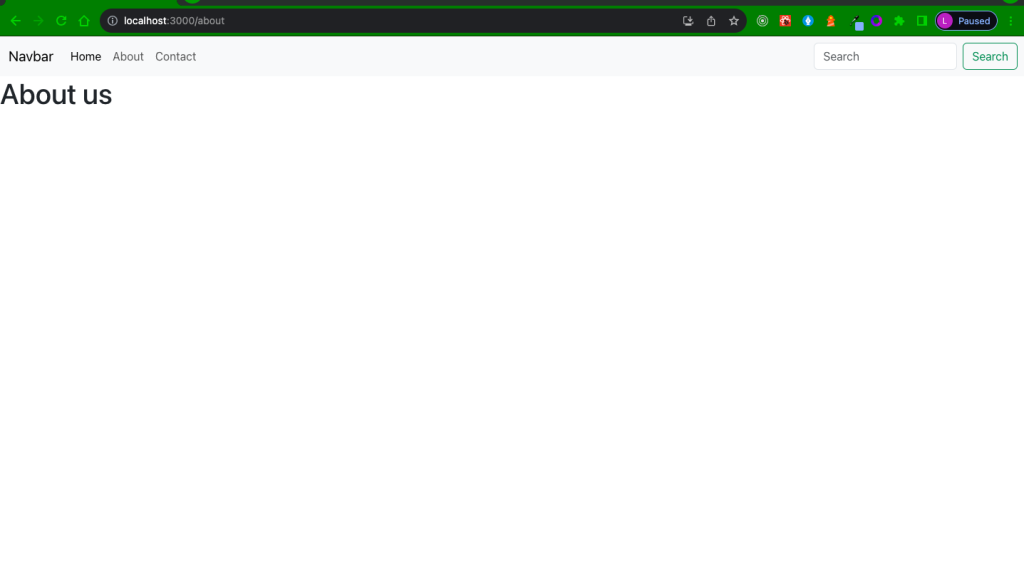
But meanwhile, here’s how our navigation page looks like:
Defining Routes
Now, we want to define our routes. Typically, it’s done in the App.js file, but again that method is not cast in stone. What we will do is to create a file called RouteScreen.js and define our Routes there:
import React, { Component } from 'react';
import { BrowserRouter as Router, Routes, Route } from 'react-router-dom';
import Home from '../Home';
import About from '../About';
import Contact from '../Contact';

class RouteScreen extends Component {
  render(){
    return(
      <Router>
      <div>
      <Routes>
      <Route exact path="/contact" element={<Contact />} />
      <Route exact path="/about" element={<About />} />
      <Route exact path="/" element={<Home />} />
      </Routes>
      </div>
    </Router>
    )
  }
}

export default RouteScreen;
Next, we want to modify our Nav.js file to use Link instead `a href`. We update with the following code:
import React, { Component } from 'react';
import { Link } from 'react-router-dom';

class Nav extends Component {
  render(){
    return(
  <nav class="navbar navbar-expand-lg bg-body-tertiary">
  <div class="container-fluid">
    <Link class="navbar-brand" to="/">Navbar</Link>
    <button class="navbar-toggler" type="button" data-bs-toggle="collapse" data-bs-target="#navbarSupportedContent" aria-controls="navbarSupportedContent" aria-expanded="false" aria-label="Toggle navigation">
      <span class="navbar-toggler-icon"></span>
    </button>
    <div class="collapse navbar-collapse" id="navbarSupportedContent">
      <ul class="navbar-nav me-auto mb-2 mb-lg-0">
        <li class="nav-item">
          <Link class="nav-link active" aria-current="page" to="/">Home</Link>
        </li>
        <li class="nav-item">
          <Link class="nav-link" to="/about">About</Link>
        </li>
        <li class="nav-item">
          <Link class="nav-link" to="/contact">Contact</Link>
        </li>
      </ul>
      <form class="d-flex" role="search">
        <input class="form-control me-2" type="search" placeholder="Search" aria-label="Search" />
        <button class="btn btn-outline-success" type="submit">Search</button>
      </form>
    </div>
  </div>
      </nav>
    )
  }
}

export default Nav;
Finally, we will modify our `index.js` file to make the RouteScreen the default loading page:
import React from 'react';
import ReactDOM from 'react-dom/client';
import './index.css';
import App from './App';
import RouteScreen from './routes/RouteScreen';
import reportWebVitals from './reportWebVitals';

const root = ReactDOM.createRoot(document.getElementById('root'));
root.render(
  <React.StrictMode>
    <RouteScreen />
  </React.StrictMode>
);

// If you want to start measuring performance in your app, pass a function
// to log results (for example: reportWebVitals(console.log))
// or send to an analytics endpoint. Learn more: https://bit.ly/CRA-vitals
reportWebVitals();

Buy Mobile Templateshttps://selar.co/m/origamisuite
Conditional Rendering in React
About the Author

Latest tech news and coding tips.