
Github is an internet hosting platform where software developers can host code and collaborate together on any project of their choice. It allows for distributed version control and thorough source code management.
What really empowers and sustains the version control functionality is an open source system called Git. Git is an open-source version control system which support and allow different collaborators to make constant changes to their written and agreed code in a specified repository.
These changes made to code are not just random, No. Git ensures that these revisions are up to standard and the modifications are in a central repository. This allow developers to collaborate easily on projects because they can download a new version of the software, make the required changes, and upload the newest revision. Each collaborator can see these new changes, download them, and contribute. Or they could just reject them ):
This means that only approved codes and accepted changes are committed to the specified branch. Git is a command-line tool. This means that you can push codes from a folder directly to the Github platform from the command line.
What’s The Difference Between Git And Github?
Having established that Git is a command-line tool that supprorts version control, it is important to know what Github is. The “hub” just means that you can also collaborate and chat with other developers or make contributions to existing projects and meet with like-minded developers.
Getting Started With Github
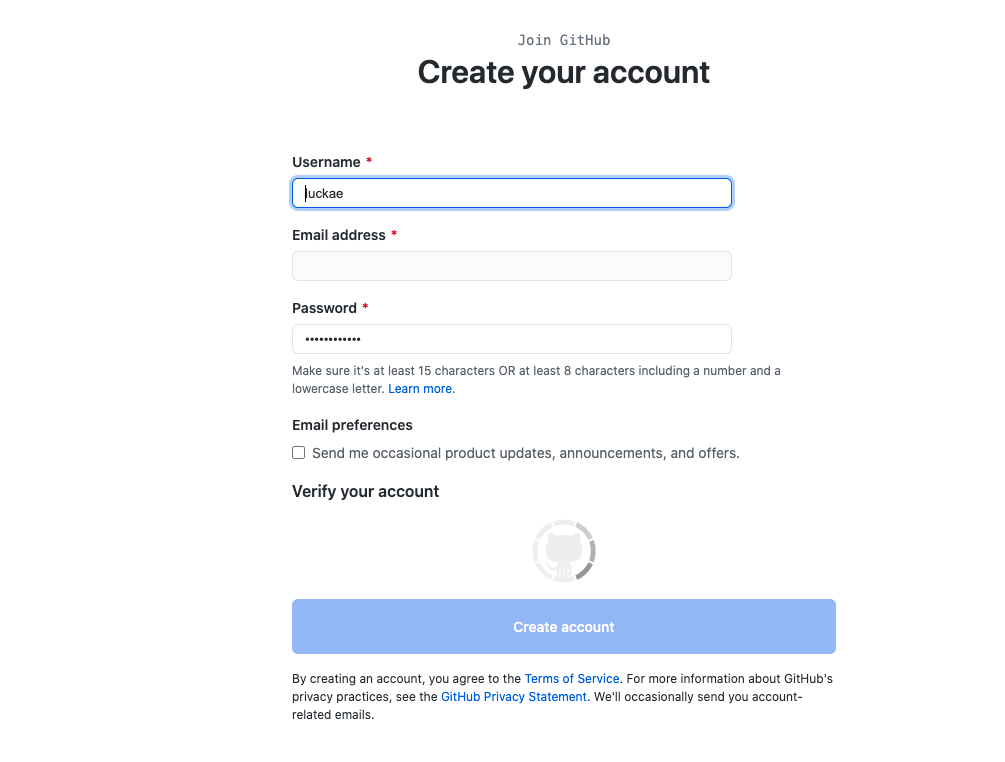
Step 1: Create a free account
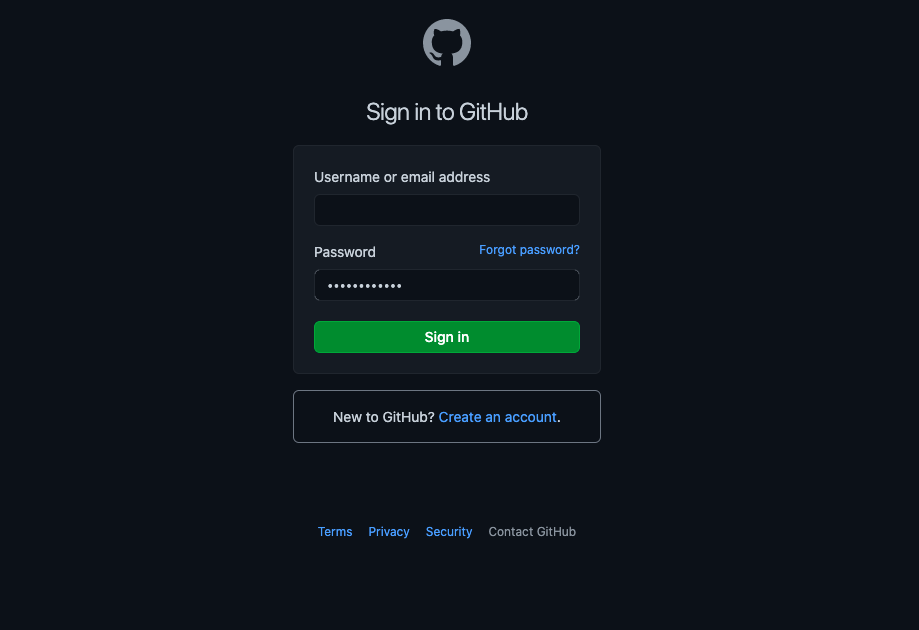
Step 2: Login to your account
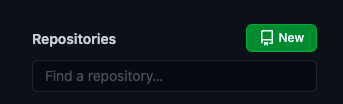
Step 3: Create a new repository
On your home page, click on the green button tagged “new” to create a new repository
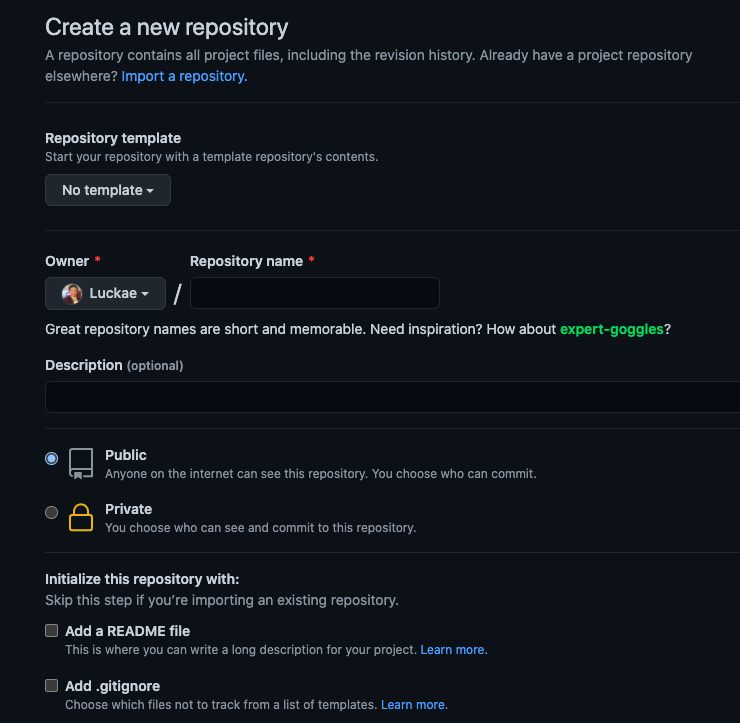
Step 4: After you have successfully created the repository, you should see the below message
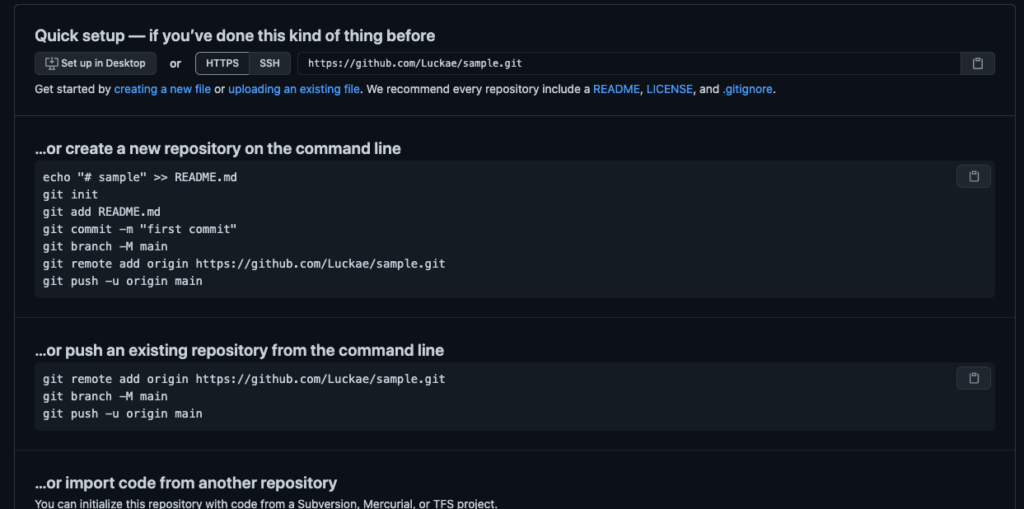
The next thing to do is to move straight up to your terminal (if you’re on Mac) or command prompt (if you’re on a PC).
Step 5: Initialise the repository
You need to cd into the root of the project you want to commit and run the following code:
git initThis will initialise the empty repository and make it ready to accept some changes.
Step 6: Add remote origin

You should take note that the selection should be on HTTPS and not SSH. Next run the below code:
git remote add origin https://github.com/Luckae/sample.gitStep 7: Add the files you want to commit by running the following command:
git add .“git add .” tells git that you want to make some changes in the working directory or that you want to add register some changes to a particular file in your commit. But these changes will not be registered if they are not committed. Which brings us to our next step.
Step 8: Commit the changes with the command
git commit -m "First commit"The “commit” command is used to save your changes to the local repository. It is important to note that you have to explicitly tell Git which changes you want to include in a commit before running the “git commit” command. This means that a file won’t necessarily be included in the next commit just because it was changed or updated.
Step 9: Push to your branch
Finally, commit these changes to the specified branch by running the following code:
git push origin masterThe git push command is used to upload local repository content, which is essentially your working directory, to a remote repository. Pushing lets you transfer commits from your local repository to a remote repo, thereby updating the repository. The “origin” keyword helps you specify a remote or branch name where you want the changes to be committed, which in our case is the master branch.
Congratulations! You have successfully setup your Github account and made your first commit to a repository.
Conclusion
One advantage of using git for your projects is that beyond just collaborating with other developers on project, Github provides an important backup for your crucial projects. You get to save your important projects online, which can be recovered if you loose your computer or your drive gets damaged.
Watch the video tutorial instead
About the Author

Latest tech news and coding tips.