
Creating an image gallery with a lightbox effect can greatly enhance the visual appeal and user experience of your website. Specifically, a lightbox effect allows users to view larger versions of images in an overlay, without leaving the current page. In this article, we will guide you through the steps to create a basic image gallery with a lightbox effect using HTML, CSS, and JavaScript. Additionally, we will cover some best practices to ensure your gallery is both functional and aesthetically pleasing. By the end of this tutorial, you will have a customizable and interactive image gallery that enhances your website’s user engagement.
Step 1: Setting Up the HTML Structure
First, create the HTML structure for the image gallery. Place each image inside a container element. Add a container for the lightbox overlay as well.
<!DOCTYPE html>
<html lang="en">
<head>
<meta charset="UTF-8">
<meta name="viewport" content="width=device-width, initial-scale=1.0">
<title>Image Gallery with Lightbox</title>
<link rel="stylesheet" href="styles.css">
</head>
<body>
<div class="gallery">
<img src="img/img1.jpg" alt="Image 1" class="gallery-item">
<img src="img/img2.jpg" alt="Image 2" class="gallery-item">
<img src="img/img3.jpg" alt="Image 3" class="gallery-item">
<!-- Add more images as needed -->
</div>
<div id="lightbox" class="lightbox">
<span class="close">×</span>
<img class="lightbox-content" id="lightbox-img">
</div>
<script src="script.js"></script>
</body>
</html>
Step 2: Styling the Gallery with CSS
Next, style the image gallery and the lightbox overlay using CSS. Arrange the gallery items in a grid and make sure the lightbox overlay covers the entire screen with a semi-transparent background.
/* styles.css */

body {
    font-family: Arial, sans-serif;
}

.gallery {
    display: flex;
    flex-wrap: wrap;
    gap: 10px;
}

.gallery-item {
    width: 100px;
    height: 100px;
    object-fit: cover;
    cursor: pointer;
}

.lightbox {
    display: none; /* Hidden by default */
    position: fixed;
    top: 0;
    left: 0;
    width: 100%;
    height: 100%;
    background-color: rgba(0, 0, 0, 0.8);
    justify-content: center;
    align-items: center;
}

.lightbox-content {
    max-width: 90%;
    max-height: 90%;
}

.close {
    position: absolute;
    top: 20px;
    right: 30px;
    color: white;
    font-size: 40px;
    font-weight: bold;
    cursor: pointer;
}
Step 3: Adding Functionality with JavaScript
Finally, we will add JavaScript to handle the functionality of the lightbox effect. This includes displaying the lightbox overlay when an image is clicked, showing the larger version of the clicked image, and closing the lightbox when the close button is clicked.
// script.js

// Get the lightbox elements
const lightbox = document.getElementById('lightbox');
const lightboxImg = document.getElementById('lightbox-img');
const closeBtn = document.querySelector('.close');

// Get all images in the gallery
const galleryItems = document.querySelectorAll('.gallery-item');

// Function to open the lightbox
function openLightbox(event) {
    lightbox.style.display = 'flex';
    lightboxImg.src = event.target.src;
}

// Function to close the lightbox
function closeLightbox() {
    lightbox.style.display = 'none';
}

// Add click event listeners to gallery items
galleryItems.forEach(item => {
    item.addEventListener('click', openLightbox);
});

// Add click event listener to the close button
closeBtn.addEventListener('click', closeLightbox);

// Close the lightbox when clicking outside the image
lightbox.addEventListener('click', (event) => {
    if (event.target === lightbox) {
        closeLightbox();
    }
});
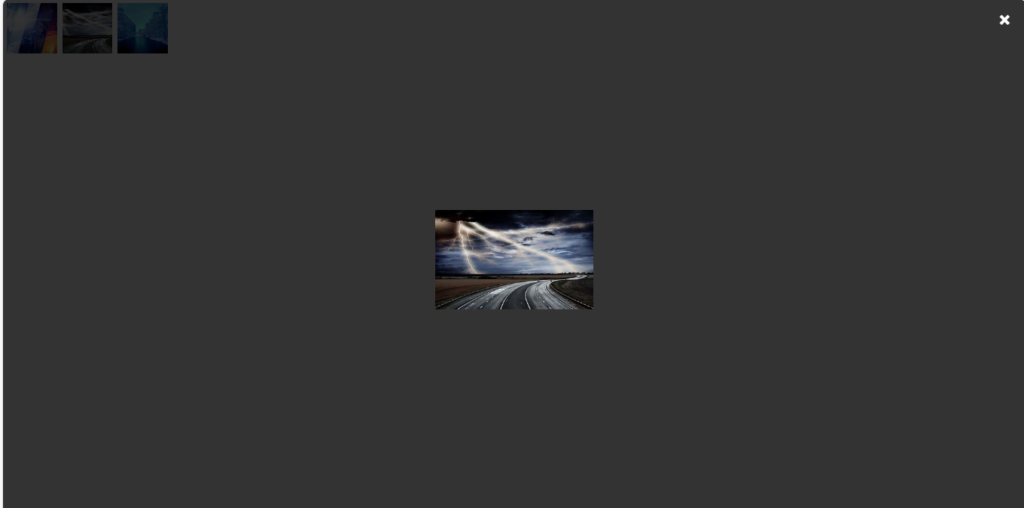
The Result!
Explanation of the JavaScript Code
- Selecting Elements: We start by selecting all the gallery items, the lightbox container, the image element inside the lightbox, the caption container, and the close button using
document.querySelectorAllanddocument.getElementById. - Adding Event Listeners: We add a click event listener to each gallery item. When an image is clicked, the lightbox is displayed by setting its display style to flex. Additionally, the src attribute of the lightbox image is set to the src of the clicked image, and the caption is set to the alt text of the clicked image. Consequently, this creates a seamless transition, enhancing the user experience. Finally, users can enjoy viewing larger versions of the images without any disruption.
- Close Button Functionality: We add a click event listener to the close button. When the close button is clicked, the lightbox is hidden by setting its
displaystyle tonone. - Closing the Lightbox by Clicking Outside the Image: We add a click event listener to the lightbox itself. If the user clicks outside the image and caption within the lightbox, the lightbox will be hidden.
Conclusion
By following these steps, you can create a basic image gallery with a lightbox effect using HTML, CSS, and JavaScript. This tutorial provides a foundational approach that you can customize and expand to suit your needs. Understanding these basics allows you to create visually appealing and interactive elements to enhance your web projects.
Creating a Carousel using JavaScript