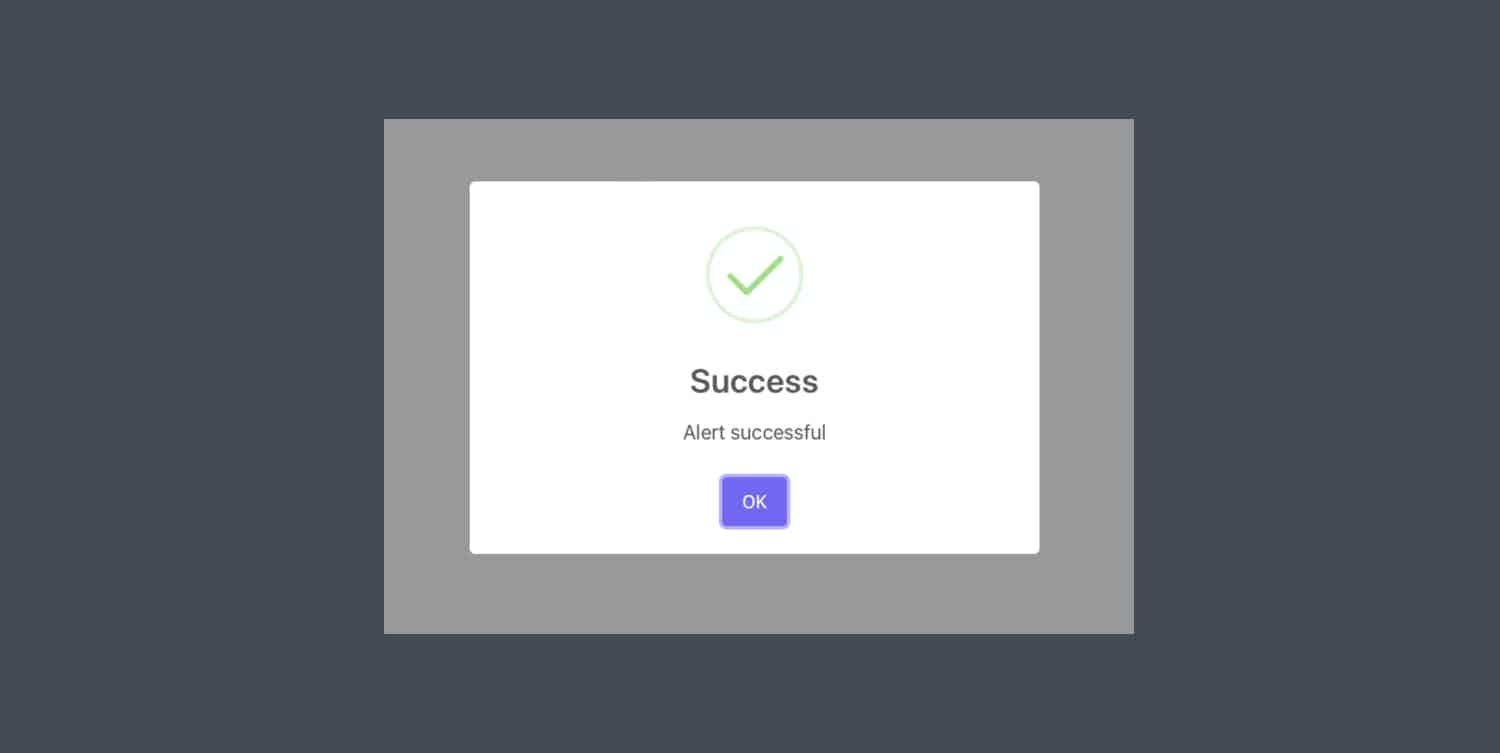
Sweet Alert helps your software application give fanciful and useful feedback to users after they must have performed some action.
Alerts are necessary and simple pointers that can even be created using Javascript:
alert("hello world!")Sweet Alert can be integrated with most programming languages and libraries. But in this tutorial, we shall be implementing it in our React application.
If you are new to Sweet Alert you can get started with it here.
And for the sake of this tutorial, we are going to be making use of a variant SweetAlert2.
Let’s get started.
1. First we’ll create a very simple button with bootstrap
Create a new React application and add the following dependencies:
yarn add bootstrap
yarn add sweetalert2
2. Next, we’ll create our React Component and our button
import React, { Component } from "react";

class Home extends Component {
  render(){
  return(
  <div>

 </div>
 )
 }
}

export default Home;
3. We’ll Add our Bootstrap button
import React, { Component } from "react";
import "bootstrap/dist/css/bootstrap.min.css";

class Home extends Component {
  render(){
  return(
   <div className="container d-flex justify-content-center" style={{marginTop: 90}}>
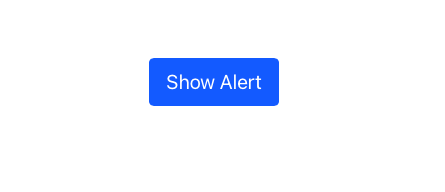
   <button onClick={this.showAlert} className="btn btn-primary btn-lg">
      Show Alert
</button>
     </div>
 )
 }
}

export default Home;
Notice that in our button we have function showAlert which will be fired when we click on the button.

4. Finally, we’ll implement the Sweet Alert Logic in our onClick function
    showAlert = () => {
        Swal.fire({
            title: "Success",
            text: "Alert successful",
            icon: "success",
            confirmButtonText: "OK",
          });
    }
Full code Logic here
import React, { Component } from "react";
import Swal from "sweetalert2";
import "bootstrap/dist/css/bootstrap.min.css";


class Home extends Component {

    showAlert = () => {
        Swal.fire({
            title: "Success",
            text: "Alert successful",
            icon: "success",
            confirmButtonText: "OK",
          });
    }

    render(){
        return(
            <div className="container d-flex justify-content-center" style=.    {{marginTop: 90}}>
               <button onClick={this.showAlert} className="btn btn-primary btn-lg">Show Alert</button>
            </div>
        )
    }
}

export default Home
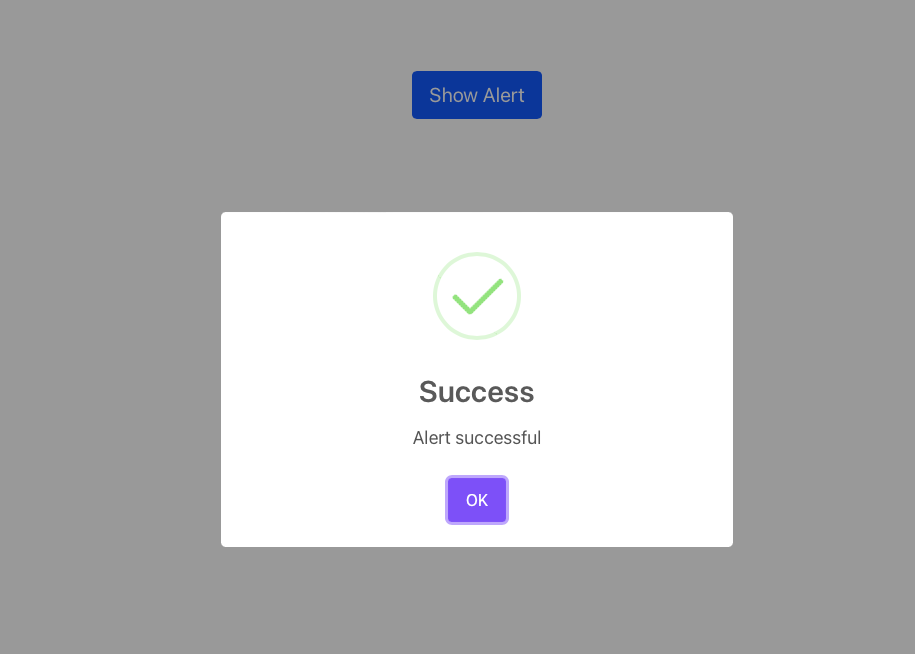
Here’s the result of our code:

One more thing …
What if when we click on the button OK, we want to redirect our application to another page?
We’ll just modify our showAlert function as follows
    showAlert = () => {
        Swal.fire({
            title: "Success",
            text: "Alert successful",
            icon: "success",
            confirmButtonText: "OK",
          }).then(function () {
              // Redirect the user
              window.location.href = "/new-page";
            });
    }
Conclusion
This is how to implement Sweet Alert in your React JS applications.
Let me know what you think in the comments!

Latest tech news and coding tips.


