how to install composer on name cheap server
Composer is a package manager for PHP that helps developers manage the dependencies of their projects
To install Composer on a Namecheap server, you will need to have SSH access to the server and be comfortable using the command line. Here’s a general outline of the steps you will need to follow:
- Connect to the server via SSH: Use a command line tool such as PuTTY or Terminal to connect to your server via SSH. You will need to use the server’s IP address, username, and password to log in.
- Update the package manager: Run the following command to update the package manager on your server:
sudo apt-get update3. Install the dependencies: Composer requires some dependencies to be installed on the server before it can be installed. Run the following command to install these dependencies:
sudo apt-get install curl php-cli php-mbstring git4. Download Composer: Use the following command to download the Composer installer:
curl -sS https://getcomposer.org/installer -o composer-setup.php5. Install Composer: Run the following command to install Composer:
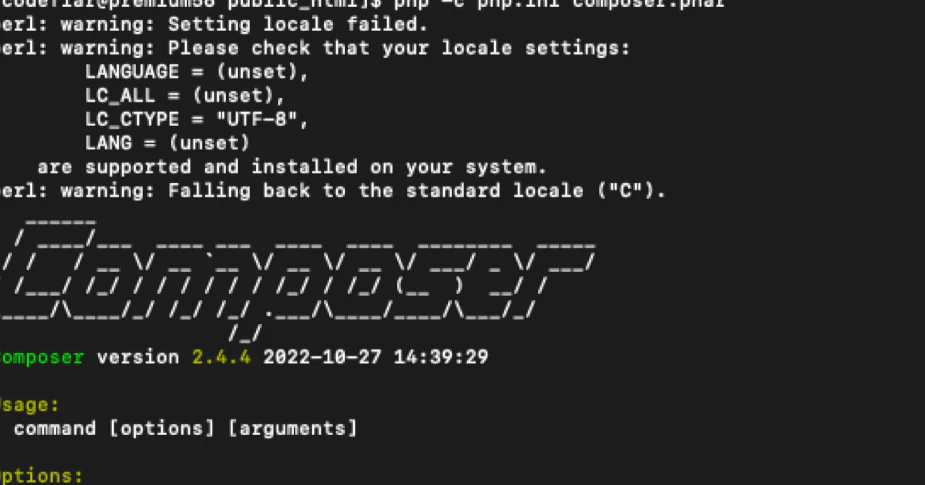
php composer-setup.php --install-dir=/usr/local/bin --filename=composer6. Verify the installation: Run the following command to verify that Composer was installed successfully:
composerIf Composer is installed, you should see a list of available commands.

That’s it! You should now be able to use Composer to manage the dependencies of your PHP projects on your Namecheap server.
Note: These steps are a general guide and may vary depending on your server’s specific configuration and requirements. If you encounter any issues during the installation process, it may be helpful to consult the Composer documentation or seek assistance from a qualified system administrator.
Image Upload With Preview Using PHP’s PDO And jQuery